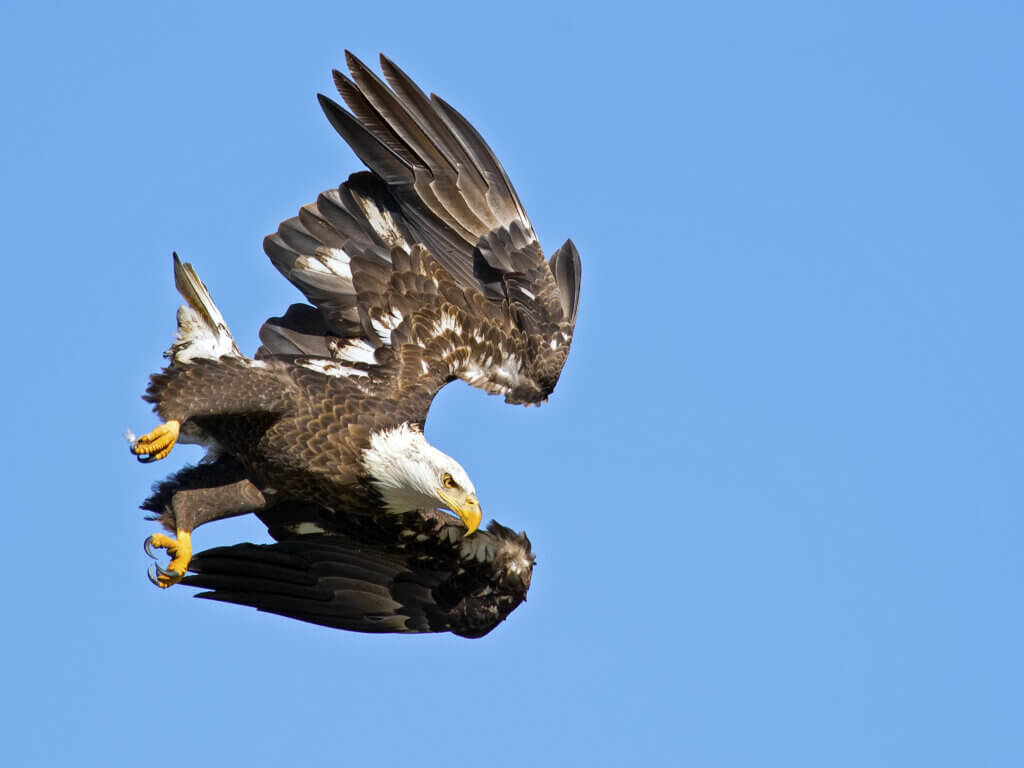
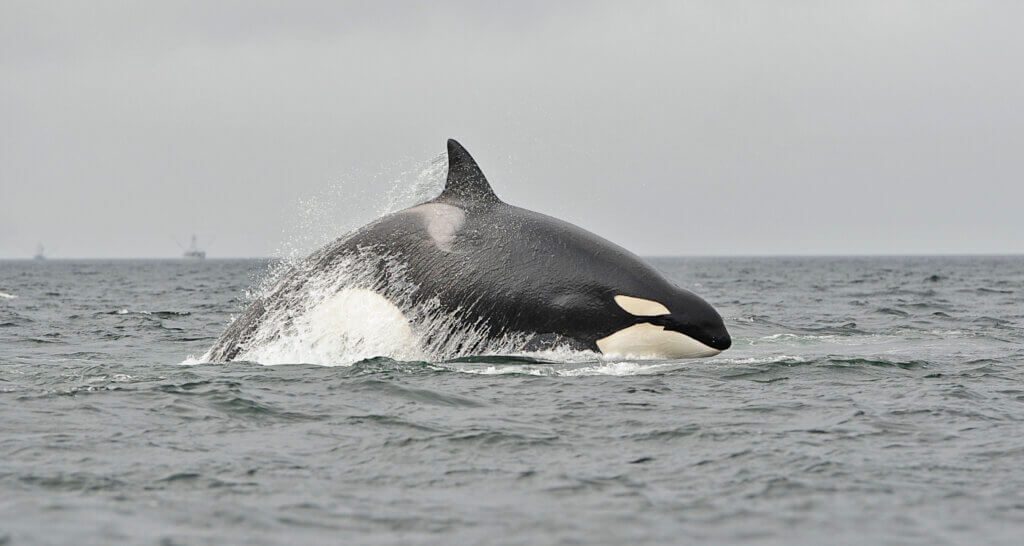
Long lens photography is a must when trying to successfully capture wildlife. Ultimately capturing wildlife can be challenging enough in challenging environments and handling the equipment, so here are 5 tips to hopefully make your long lens photography more successful when capturing wildlife.
Tip #1: 3 Points of Contact
If I don’t have access to a tripod or a monopod, I try and make sure that my camera always has three points of contact. Especially if I am having to hand hold a long lens. Three points of contact could be the camera against your eye, left and right hand holding or steading the lens and camera all at once. Making sure you always have 3 points of contact with your camera and your lens can also enable you to keep your camera and lens sturdier.
Thus, eliminating the possibility of camera shake or blurry images.
Another example could be if you are having to kneel or lay on the ground, you could support your camera and lens against your leg, while holding onto it with you right and left hand. At all times try and find three points that can help brace your camera/ lens while shooting.

Tip #2: High Shutter Speed
Using a high shutter speed can not only help you freeze the action that you are trying to capture in front of you, but it can also help you eliminate blurry images from unwanted camera movement.
A good rule of thumb is to never have your shutter speed go below the focal length of which you are shooting.
An example of this would be, I am hand holding a 70-200mm lens. I am shooting at 200mm. The idea is that you don’t allow your shutter speed to drop below 1/200 of a sec.


Now in most cases shooting action or wildlife at 1/200 of a sec is maybe the most ideal for stopping motion, but it’s always a good rule of thumb to be aware of your shutter speed and make sure you prioritize having a higher shutter speed when trying to capture wildlife.
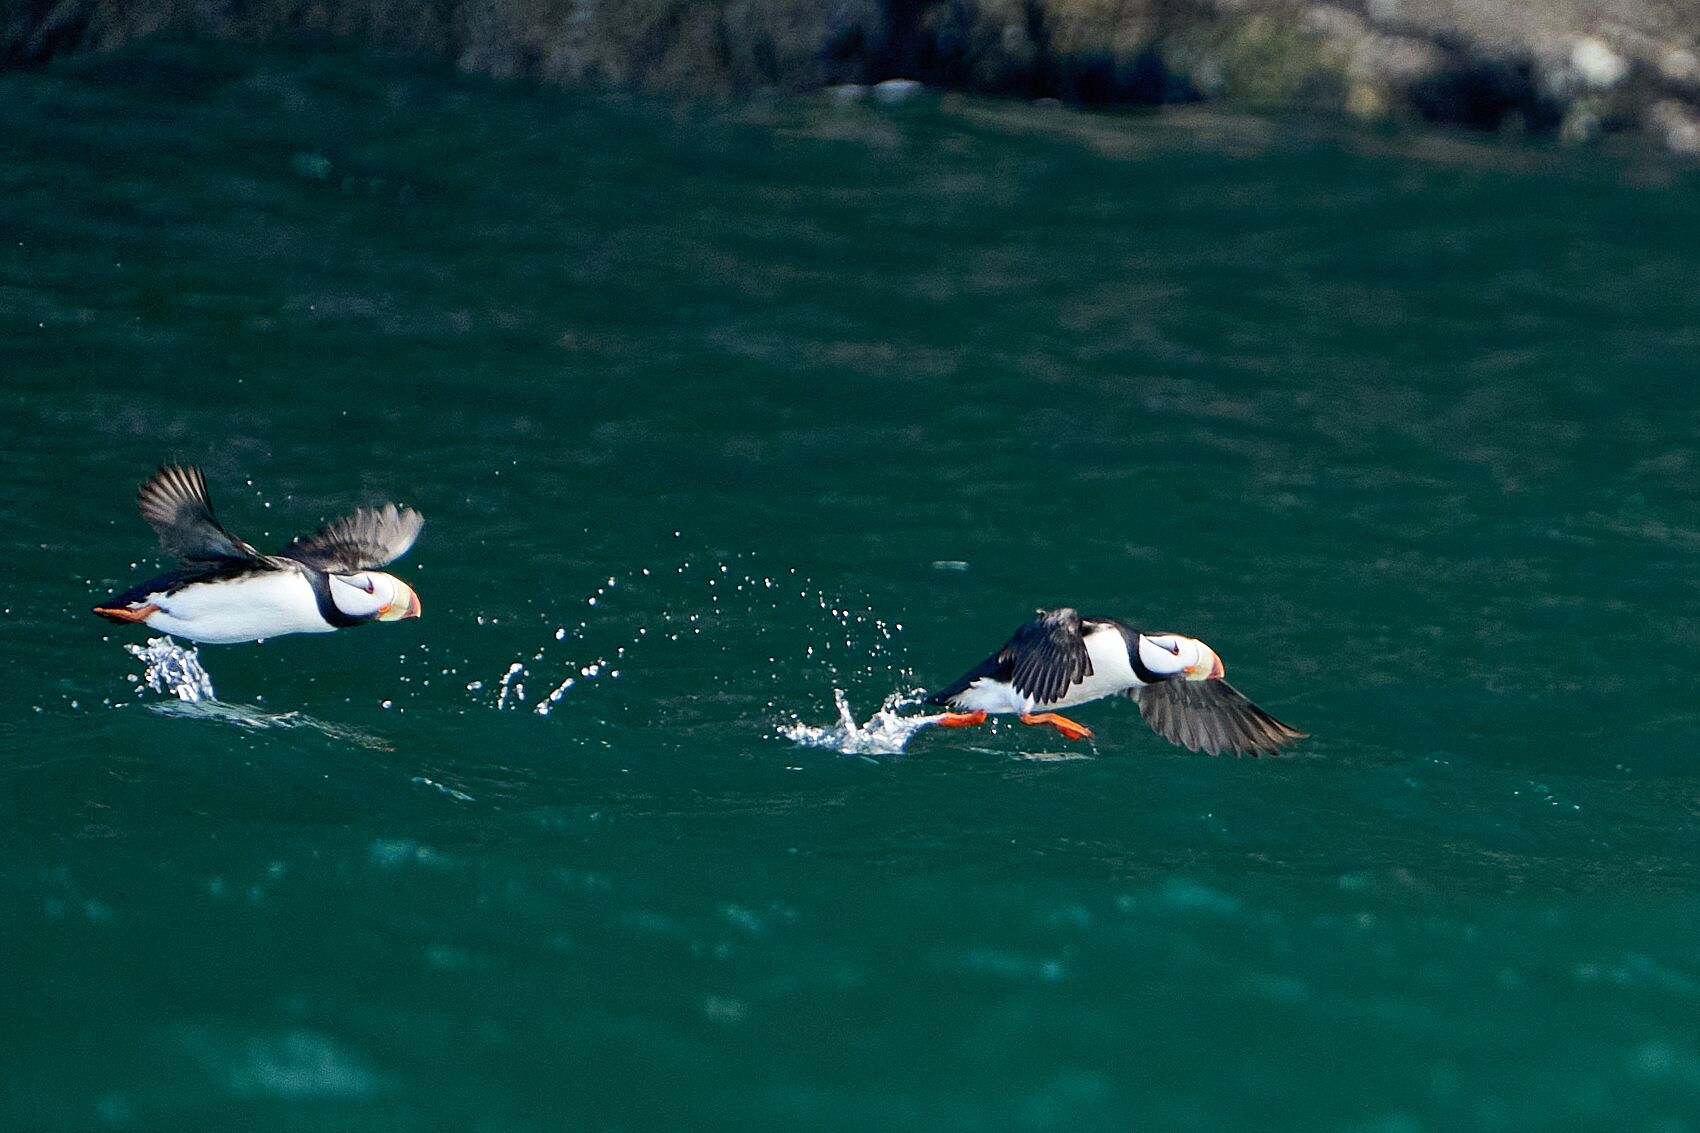
Fast moving birds such as Puffins may needs a higher shutter speed of 1/500 or even 1/1000, so some experimentation is key to getting it right.

Tip #3: Use a Monopod or Tripod
Using a monopod or tripod can not only allow you to capture sharper images, but it can allow you to shoot with a longer lens for a longer period thus reducing body fatigue. Hand holding long lenses can be very difficult even after just a couple of minutes.
Having the ability to have your lens attached to either a fluid ball head or gimbal mount can help and take the weight and pressure off the lens and off your body.
I do like the freedom of hand holding a lens when shooting wildlife. I find it easier to track my subjects and increase the chances of successful images, but after several minutes I generally will feel my back, neck and arms starting to fatigue.
Using a monopod can be a great solution if you don’t want to fully be fixed in position with a tripod. A monopod can also be matched with a gimbal mount on top to also allow you to fluidly track your subjects.

Join Our Newsletter
Sign up to our newsletter and get updates on availability new workshops. Plus photography tips and tricks from Dan & Jessica.
Tip #4: Push & Pull Technique
If your lens will allow it, pushing and pulling the barrel of the lens to zoom in and out can be quicker and more effective.
Some lenses have a very long lens throw to zoom the lens out to its furthest focal length. I find that if I rest my left hand on the front of the lens barrel, I can just push and pull my zoom in and out.
If I am shooting on a long lens like the Sigma 150-600mm, by having my hand on the front of the barrel, I can pull the lens outward instead of using the zoom ring, thus getting to the 600mm focal length faster and smoother. This technique also works on the new Nikon Z 100-400mm lens.
I also find this helpful when trying to track a moving subject. If I have an animal running towards me or in a lateral direction, I can easily adjust my focal length faster and have more support on the lens by holding it further out.
Tip #5: Avoid Shooting on Hot & Sunny Days
The good part about this tip is wildlife are taking a daytime siesta if it’s too hot or sunny out.
Using a long lens on a hot and sunny day can cause unwanted haze and heat distortion.
No matter what you do, you just can’t get that animal in focus. In layman’s terms, between you and your subject there is a lot of air, density and light. All at different angles and depths.
This light is bent or distorted through this air. Colder air is less dense than hotter air. So the moral of the story is that your wavy haze that you see on the back of your camera is not actually an issue with your lens.
It’s the air and the light between you and your subject.
The further you are away and the longer the lens is that you are shooting with, then the more of this you will have to contend with. If you can try and stick to photographing your subjects at cooler temperatures during the day, then you can avoid this miserable headache of heat distortion!
We hope these 5 tips can help set you on your path to long lens photography success.
Remember the best tip of them all. Practice truly does make perfect. Why not join us in Alaska to find out more great ways to improve your photography.


